Showing posts with label freezer-friendly. Show all posts

Friday, December 20, 2013

Chocolate Mint Cookies

Christmastime is the time for baking cookies. Pull out your KitchenAid mixer (or hand mixer or wooden spoon) and start to cream some sugar and butter together. Stir in some flour and something to give it a little bit of flavor. Shape them and throw them in the oven for about 15 minutes. There you go. Cookies.


When I'm home to my parents for the holidays, we have certain cookies that we always make. It just wouldn't be Christmas without cutout sugar cookies, peanut blossoms, and pecan thumbprints. What are your cookie necessities?

But I can never just leave it at that. If you know me, you know I love a new recipe. So last year I tried out gingerbread cookies. This year I made some chocolate mint cookies. They are perfect for the holidays. Do me a favor and throw them in freezer-- divine! They may be reminiscent of another cookie you've had before...


Chocolate Mint Cookies (adapted from Taste of Home November 2011)
Ingredients:
3/4 cup unsalted butter, softened
1 cup granulated sugar
1/3 cup 2% milk
3/4 tsp mint extract
1/2 tsp vanilla extract
2 cups all purpose flour
1/3 cup baking cocoa
1/4 cup cornstarch
dash of salt
1 lb chocolate candy coating
Sprinkles

Directions:
In a stand mixer (or with a hand mixer), cream the butter and sugar until light and fluffy. Beat in the milk, mint extract, and vanilla extract. Stir together the flour, cocoa, and salt. Add the dry ingredients gradually to the stirring creamed butter and mix well.

Shape the dough into two 1 inch diameter rolls and wrap in wax paper. Freeze for about 2 hours until dough is firm.

Preheat oven to 375 F. Line baking sheets with parchment paper.

Unwrap and cut into 1/4 inch slices. Place prepared baking sheets. Freeze additional dough if you can't fit it all on the baking sheets. Bake for 12-15 minutes until set. Let cool on the baking sheet for a few minutes and then transfer to wire racks to cool completely.

Melt the candy coating in a glass bowl according to the package directions. Dip the cookies into the melted chocolate, allowing the excess to drip off. Place on waxed paper and decorate with sprinkles. Let stand until set.

Makes about 7 dozen cookies.


Saturday, December 15, 2012

Mushroom Pizza (with homemade pizza dough)

Raise your hand if you like pizza.


So everyone has their hand in the air, right?


Me? I definitely enjoy pizza. I won't turn down a stuffed crust slice from Pizza Hut or a thin and crispy Dominos. That super thick Chicago style pizza? Delicious! New York floppy and greasy? I'd fold that baby in half and eat that too. $5 from Little Caesars? Pizza! Pizza! I say. I especially like local places with different pizza specials. Whether it be thick or thin, you'll bet your bottom dollar I'll eat it.


When you're living alone, ordering and consuming an entire pizza yourself is not the best idea. For that reason, and to play around with yeast some more, I started making homemade pizza dough. And I'm telling you, best decision of my (culinary) life! I have made the following dough at least three times since I've lived in IL and another time I made it with half whole wheat flour.


This dough is great for a couple reasons. One- it is very easy to put together. Two- it freezes beautifully. That means you can whip up the dough and freeze it into individual sized portions to use whenever you have a hankering for pizza. It works great for calzones and as a vehicle for any combination of toppings you can come up with. This week I went with a simple tomato sauce, shredded mozzarella cheese and mushrooms.

Just look at that cheese!


Homemade Pizza Dough (from Annie's Eats)
Ingredients:
1/2 cup warm water
2 1/4 tsp instant yeast
1 1/4 cup room temperature water
4 cups bread flour
1 1/2 tsp salt
2 tbsp extra virgin olive oil

Directions:
Combine the warm water and yeast in a small bowl. Let sit for a few minutes. Add the room temperature water and olive oil and mix. In a large bowl, mix together the flour and salt. Mix in the wet ingredients, stirring with a wooden spoon until you cannot stir anymore. Then turn out the dough on a floured surface and knead to mix in the rest of the flour. Keep kneading until the dough is smooth, about 5 minutes. Place it into a lightly greased bowl and cover with plastic wrap. Let rise until doubled, about 90 to 120 minutes (the timing will change depending on the temperature of your house).

Lightly punch down the dough. Separate into 5* equal pieces. Form each into a ball. Wrap in plastic wrap, place in a freezer safe bag, and freeze until ready to use.

*The 5 portions will give you individual sized pizzas, if you want to do large family style pizza, separate the dough into 2 portions.


Personal Mushroom Pizza
Ingredients:
1/5 of pizza dough (from above)
1/3 cup tomato pizza sauce
1/2 cup shredded mozzarella cheese
1/2 cup sliced mushrooms
cornmeal

Directions:
If your dough is frozen, thaw in the fridge over the course of the day.

Preheat oven to 500 F. Place a baking stone or upside down baking sheet in the oven during the preheating process.

Remove the dough from the fridge (or use non-frozen dough from above). Place the ball on a clean surface and cover with a damp cloth. Let sit for 10-30 minutes while the oven reaches temperature. Prep your pizza sauce, cheese and mushrooms.

Stretch the dough into a flat shape. Remove the baking sheet or stone from the oven and sprinkle with cornmeal. Place the dough on top of it and moving quickly spread your sauce over most of the dough. Top with the cheese and mushrooms.

Bake for 7-8 minutes until crust is golden and cheese is hot.

Serves 1.


Wednesday, December 5, 2012

Turkey Stock

Question--- what's the difference between stock and broth?

I did some googling (side bar: can you believe that google is in the dictionary as both a noun and a verb? Google wasn't even started until the late 1990s and now we use the word so often; it is crazy.) and found a few answers. First, I think in order for something to be a "stock", it needs to have been made with bones. But then how can there be vegetable stock? I dunno. Broth, on the other hand, is typically made with more meat pieces, salt and other seasonings that make it something you could eat directly from the pot. Most places that you look, however, say that chefs tend to use the words interchangeably, especially when they are homemade. Since I don't add any salt to either stock or broth, I wouldn't suggest eating them directly from the pot without seasoning. But regardless of what you call them, I would definitely encourage you to make them at home. My parents and I made this turkey stock on Thanksgiving because why throw away the carcass without getting a little something extra from it? Play around with the vegetables and seasoning and use what you have in your fridge (or even scraps from your freezer would work). Alternatively, just sub bones and skin from a chicken to make chicken stock.


Turkey Stock (adapted from Vegetable Broth)
Ingredients:
1/2 to full carcass of roasted turkey, plus skin
1 medium onion, cut into quarters
2-3 celery stalks, cut into large chunks
8-10 baby carrots
1 bay leaf
large handful of fresh parsley
4-5 fresh sage leaves
2-3 sprigs of fresh thyme
2-3 peppercorns
Cold water

Directions:
After you have carved your turkey and picked off most of the meat (you don't need to pick it clean, some meat will help to flavor it), break down the bones and add them plus any skin and fat to a large pot. Add all of the vegetables and seasonings. Cover with cold water. Turn on the stove and bring to a simmer. Reduce the heat to low and simmer for 3-8 hours.

Pour the liquid through a small mesh strainer and remove all of the solids. Let cool to room temperature (or you could cover it and put it outside if it is colder out there); you don't want to put it directly into your fridge because the heat will warm up the inside of your fridge and it may not be at the correct temperature for everything else you have in there. Once it has cooled to room temperature, place it in the fridge overnight. In the morning, skim off the fat using a spoon or fat skimmer (you can leave some fat if you would like, if you remove it all, you have fat free broth!). Portion into 1 cup and 2 tbsp (ice cube tray) aliquots and freeze.

Thaw and use in place of chicken stock or broth for whatever recipes you desire!

Remember when you use this that you will want to taste your dish and salt generously. Unlike the stock/broth that you buy in the store, this is salt free!


Friday, November 9, 2012

Homemade Vegetable Broth

A couple of weeks ago Meijer failed me... in three consecutive trips. For some reason, completely unknown to me, the chicken/vegetable/beef broth/stock shelves were completely empty. I mean no expensive organic kind, no fully sodium-ed store brand, nothing. It was so weird. It was at this point that I thought, I gotta make some homemade broth/stock for my freezer so I never have this problem again. I also thought to myself, why purchase a whole bunch of extra veggies to use up in stock when every day when I cut up vegetables for recipes, I end up throwing parts of them away. So at this point, I started collecting my vegetable scraps in the freezer. I collected a whole gallon sized freezer bag of potato skins, onion skins, mushroom stems, carrot ends, celery pieces and such. Then I threw them all into a big pot, covered them with water, added some herbs (thyme, parsley and peppercorns), and simmered away for 1 hour. After straining and cooling I had myself a bunch of vegetable broth to be used in so many dishes.


This is so easy that you should really do it! The skins of the onion give it the beautiful brown color, so make sure not to skimp on them. Also make sure that you do include carrots and celery (potentially cut up some extra to add in) because they will make the broth more hearty. I wouldn't suggest using any super strongly flavored vegetables like cabbage or brussels because they will probably take over the flavor. Also, make sure that you do not include any vegetables that have become rotten!


Homemade Vegetable Broth
Ingredients:
Gallon ziplock bag of vegetable scraps such as potato skins, celery, carrots, onion (red or yellow with skin), bell pepper, mushroom stems, corn cobs etc.
2-3 garlic cloves, whole and peeled
Fresh herbs such as thyme, parsley, basil, oregano, etc.
3 whole peppercorns
Cold water to cover vegetables

Directions:
Collect vegetable pieces over the course of a few weeks to months in a ziplock bag in the freezer. When the bag is full, dump it into a large stock pot and cover with cold water. Add the garlic, herbs and peppercorns. Bring to boil, reduce heat and simmer for 1 hour, uncovered.

Strain the broth and cool to room temperature. Aliquot into freezer bags and ice cube trays and freeze.

Use in place of chicken or vegetable broth in whatever recipe you desire.


Wednesday, October 31, 2012

Pork and Green Onion Wonton Soup

HAPPY HALLOWEEN!

I hope that you have plans of costumes, pumpkins and candy tonight. Me? I've got a date with my oven to make some pumpkin flavored treats. Don't worry, I'll share them with you later.

For now, I'm sharing this AMAZING recipe. No joke, it has some of my most favorite characteristics in a recipe. Number 1- it is delicious (you know how much I love some yummy food). Number 2- it is so quick and easy to put together, like literally 10 minutes to cook (well once you have the wontons frozen). Number 3- I will definitely be eating it again (and not only because I have a freezer bag of wontons ready to go).

So here's the deal, spend a little bit of time on the weekend prepping the wontons and you are ready to go with a simple weeknight meal.

I'm thinking I'm going to have to play around with some different flavors inside of the wonton wrappers to mix it up in the future. But this combo of pork, green onions and ginger is great. You've got to try it out.


Pork and Green Onion Wonton Soup (adapted from Foodie with Family)
Ingredients:
For Pork and Green Onion Wontons:
1/2 lb ground pork
1/2 tbsp fish sauce
1 inch piece of ginger, grated
2 green onions (green and white), finely minced
1 tbsp cornstarch
1 tbsp rice vinegar
24-32 wonton wrappers (depending on how much you put in each)
1 egg, beaten

For 1 serving of soup:
1 tsp oil (sesame, peanut or canola)
7-8 frozen pork and green onion wontons (from above)
3 cups chicken broth (or vegetable broth)
1 small carrot, cut into matchsticks
3-4 button mushrooms, sliced
1 garlic clove, peeled and whole
1 green onion, diced
1 tbsp of Asian chili sauce (more or less to taste)
Fried rice noodles, for serving

Directions:
To make wontons:
Combine the ground pork, fish sauce, ginger, green onions, cornstarch and rice vinegar in a bowl and mix until homogeneous.

Working with 4-6 wonton wrappers at a time, brush the entire wonton with the egg and then place approximately 1 tsp of the pork mixture into the middle of the wrapper. Bring together the corners and squeeze to close. Place the prepared wontons on a baking sheet covered with parchment paper. Once you have assembled all of the wontons (I ended up with 32 wontons), place the baking sheet in the freezer and freeze through, at least 2 hours. At this point, you can put all of the wontons into a freezer bag for longer term storage.

To make the soup:
Place the oil in the bottom of soup pan. Add the frozen wontons, carrot matchsticks, mushrooms, garlic clove and white parts of the onion. Add 1 cup of broth and bring to a boil. Once it reaches a strong boil, add another cup of broth and bring back to a boil. Once that reaches a strong boil, add the last cup of broth and bring to a boil for 5 minutes.

To serve, remove the wontons, carrots and mushrooms to a bowl and pour the broth over them (discard the garlic clove). Garnish with the green parts of the onion and fried rice noodles.

Serves 1.


Wednesday, October 17, 2012

Homemade Pumpkin Puree (a how to)

I know I've said this a number of times, but sometimes spending the time and effort to make things at home instead of buying canned or prepackaged is great.

This weekend I made pumpkin puree. Yeah, that stuff you normally get out of a can. I spent $3 on two pie pumpkins and got around 5 cups of puree. I think that is maybe about equivalent to what it would cost you from the store. But the great thing is I also got some toasted pumpkin seeds out of the deal. And I supported a local farmer. If you've got the time you should do it; doesn't take a lot of effort, just follow the 6 easy steps below.


Step 1. Go to the farmer's market (or grocery store) and pick out some pie pumpkins. Clean the outsides. And get out a giant sharp knife.


Step 2. Cut the pumpkins in half and scoop out the insides. Place them cut side down on baking sheets. Roast in 400 F oven for 40-60 minutes (give or take some time depending on the size of your pumpkins).


Step 3. Remove from the oven and let cool completely.


Step 4. Peel off the skin and put the flesh into a food processor.


Step 5. Puree until you get the desired consistency.


Step 6. Use in recipes!!

So simple. Do the darn thang!


Pumpkin Puree
Ingredients:
Pie pumpkins (also known as sugar pumpkins)*

Directions:
Preheat oven to 400 F.

Clean the outside of the pumpkin(s). Cut the pumpkin(s) in half using a sharp knife. Scoop out the seeds and strings. Place the pumpkin halves cut side down on baking sheet. Bake for 40-60 minutes (cooking time will vary depending on the size of your pumpkin) until the flesh is cooked completely.

Let the roasted pumpkins cool completely. Peel off the skin and put the flesh into a food processor. Pulse until a smooth consistency is reached.

Use in place of "canned pumpkin puree" for any recipe.

Freeze in freezer safe ziploc bags.**

*I used two pie pumpkins (Sorry I don't know how much they weighed because I got them from the farmer's market) and got around 5 cups of puree. Use as many pumpkins as you want :)

**I packaged some of mine in 1 cup aliquots in quart sized bags. I froze the rest in ice cube trays (about 2 tbsp per cube) then cracked the cubes out and put them in a gallon sized bag. The different amounts will allow me to thaw whatever I need, when I need it.


Thursday, September 13, 2012

Parmesan Ciabatta Bread

Things I'm loving right now:

1. The start of the school year and new and exciting seminars. I can't tell you how pumped about science I get after I listen to a good seminar. I love listening to people talk about what they have done and what they are doing to try to understand a particular problem. Even when it is in a field that I don't know particularly well, if the speaker is good, I'm hooked and enthused about their work. Talk about rejuvenation. It just reminds me of how much I belong in the world of academics.

2. Peaches and nectarines. And how they have been on sale for like the past month.

3. Mini Premium Saltine Crackers. I think this is because I normally buy off-brand, low-fat, low-sodium saltines, but these are only made by Premium and full of salt and fat (not that they are particularly bad for you). I'm not kidding you when I say I ate any entire box over the course of 3 days when I was sick. And then I bought another box, and I'm almost done with that one too.

4. Black polish on my toenails. It makes me happy, okay?

5. Fall in the midwest. I love that it gets cool at night, but is still sunny and warm during the day. It makes me want to be a creep-o at a high school football game on a Friday night. Or don my old pom uniform to cheer the team on.

6. Freshly baked bread. Especially this perfection of parmesan ciabatta bread. I finished the bread late (read: 10:00 pm) on a Sunday night and still I scarfed down two hot from the oven pieces before I went to bed. I sliced and froze one of the loaves, but the other didn't even last the week. I ate it breakfast, lunch and dinner. And boy, was it good. Plus, I got to knock another thing off that cooking bucket list of mine.


I wish you could smell this through the screen. 
Just look at that delicious cheese... yum...


Parmesan Ciabatta Bread (adapted from Annie's Eats)
Ingredients:
For the overnight starter:
1.5 cups all-purpose flour
0.25 cup whole wheat flour
1 cup warm water
1/8 tsp dry active yeast

For the dough:
All of the starter
2.5 cups all-purpose flour
0.5 cup warm water
1.5 tsp salt
0.5 tsp dry active yeast
4 oz parmesan cheese, cut into 1/4 in cubes

Directions:
For the starter, combine the warm water with the dry active yeast in a medium bowl. Once it is foamy, add the flours and stir well to combine. Cover with plastic wrap and allow at room temperature for 12-20 hours until bubbly.

Combine the water and yeast and allow to get foamy. Using your food processor (or stand mixer) equipped with the dough blade, combine the starter, flour, water with yeast and salt. Pulse and knead on a low speed for 6-8 minutes until the dough is soft and slightly sticky. Add additional water or flour as necessary. Remove the dough from the food processor and knead in the cheese using your hands.

Transfer the dough to a lightly greased bowl, cover and allow to rise for 1-2 hours until very puffy.

Turn the dough onto a lightly floured surface and divide in half. Form each half into a loaf (mine were about 10 X 5 inches). Place the loaves on a parchment lined baking sheet. Spray the top of the loaves with cooking spray and cover with plastic wrap. Allow to rise for 45 minutes until they are puffy again (I found they didn't get quite as puffy at this stage).

Preheat oven to 450 F.

Bake for approximately 25 minutes until the bread is golden. Remove the loaves and let cool.


Thursday, June 28, 2012

Verde Turkey Enchiladas

I really hope that name doesn't scare you away from this dish. I promise the turkey isn't green. It is the sauce that is green-- this delicious enchilada sauce made from roasted tomatillos and poblano peppers that you may want to eat atop some tortilla chips as a salsa instead. Or maybe straight out of the food processor with a spoon.

Remember when I showed you that disgusting sink? If you look closely, the remnants in the food processor are not from the hummus. They are green! Yes, I washed the food processor, I think, three times that night. You gotta do what you gotta do. Especially when you are making good food.

Anywayzzzz...

I know "normally" verde enchiladas are stuffed with chicken or just cheese, but anyone who knows me, knows I'm not normal, so here we are with ground turkey. The mix of the enchilada sauce with the turkey and feta cheese is great. With the melted mixed cheese on top, it becomes quite a delectable meal. Serve it topped with some sour cream or greek yogurt to put it completely over the edge. As always, I've replaced any cilantro with parsley. If you are a cilantro lover (or liker), feel free to use that instead. Just please don't invite me to dinner. :)


Verde Turkey Enchiladas (Sauce adapted from Tracey's Culinary Adventure)
Ingredients:
Enchilada Sauce:
2 poblano chiles, stemmed and seeded
1/2 lb tomatillos, husks removed, washed and dried
1/8 cup chicken broth (low sodium, preferred)
1/2 onion, roughly chopped
2 garlic cloves
1/4 cup packed fresh parsley
juice of 1/2 lime
1/2 tbsp extra virgin olive oil
1/2 tsp sugar
salt and pepper, to taste

Enchiladas:
1/2 lb ground turkey
1/2 cup feta cheese (or crumbled queso fresco)
1/4 cup minced fresh parsley
4 9-in flour tortillas (I used low carb tortillas)
1/2 cup shredded cheese (I would suggest Mexican or Colby jack)

Directions:
For the sauce, preheat your broiler with an oven rack about 6-in from the top. Place the poblanos and tomatillos on a foil lined baking sheet. Spray with nonstick cooking spray. Broil until blacked and soften, about 10 minutes, turning to cook evenly.

Let the veggies cool until you can handle them. Remove the skins from the poblanos.

In the bowl of your food processor, combine the tomatillos, poblanos, broth, onion, garlic, parsley, lime juice, oil and sugar. Pulse until almost smooth. Season with salt and pepper to taste. You can keep this in the fridge for up to two weeks in an airtight container.

Preheat oven to 450 F.

In a skillet over medium heat, cook the turkey until completely browned, approximately 5-10 minutes.

In a large bowl, combine the turkey, feta cheese, 1/8 cup minced parsley and 1/2 cup enchilada sauce. Warm the tortillas in your oven until they are pliable. Then fill each tortilla with 1/4 of the turkey mixture and roll up. Add 1/2 cup of enchilada sauce to the bottom of a baking dish and put the tortillas on top. Cover with the rest of the enchilada sauce and then top with the shredded cheese.

Bake for 15-20 minutes until the cheese is melted and bubbly. Garnish with rest of parsley. Serve with sour cream, if desired.

Serves 2-4.


Monday, June 4, 2012

Two for One Kale Pesto


HI!! Sorry I’ve been a little MIA from the blog for the past few days. I was off to the beach to watch some of my friends get hitched. I got to spend an extended weekend with some friends from grad school that I haven't seen for a while. We had a great time on the beach, ate some yummy food, drank some beers and enjoyed our time together. Of course, as always, when I get back from a vacation, I feel like I need another vacation to just catch up on sleep. Anyone else feel that way after trips?

But I’m back in town and back to the grind in lab and in the kitchen. 


I’ve been wanting to post this recipe (actually, multiple recipes) for a little while. I was debating calling the post “One for Two Kale Pesto” but then I thought you would think I was gypping you out of a recipe so I went with the more traditional “Two for One.” Technically, I could have called it “A Pesto for All Occasions”.

Okay, I’m rambling…


So I need to give a few stories/lessons before I jump into the cooking:

1. I DO NOT HAVE A GREEN THUMB! I continue to try (this year I’m hoping for some herbs and a variety of peppers to survive my mini apartment garden), but I just am not the best. You would think I would be better because when I was younger I convinced my parents on convert a third of our sandbox in the backyard into a garden so I could grow some vegetables. Okay, maybe that was the first sign- we only kept the garden for one summer. Anyway, I have killed almost every basil plant I’ve tried to keep alive (this year, so far so good). While a number of friends always seem to be swimming in basil and making pesto left and right, my little green leaves tend to dry up and die. I think I’ll blame it on my lack of sun in my apartment(s) over the years. That sounds like a good excuse.

2. When we were doing the CSA box last summer, we kept getting kale. I didn’t really know what to do with this green (we didn’t really eat hearty greens growing up) so I went searching for some new recipes. In one of my “Everyday with Rachael Ray” magazines, I found this great pesto recipe using kale in place of the pesto.

3. I have come to learn that you can use many different greens (basil, kale, spinach, etc.) with a variety of toasted nuts (pine nuts, walnuts, almonds, peanuts, etc.) to make a fresh and great pesto.

4. Pesto is not only great on pasta but as a base for pizza, pies or as a dip for veggies. Be creative and think outside the box (hmm… I think this may be my cooking mantra).

Here I’m sharing with you the recipe for the pesto and two different meals I’ve used it in- pasta and calzone. I also make the pesto and freeze it in smaller portions to use whenever I want.


Kale and Walnut Pesto (adapted from Everyday with Rachael Ray)
Ingredients:
1/2 bunch kale, stems discarded and leaves coarsely chopped
1/4 cup chopped walnuts, toasted
clove garlic, chopped
1/2 cup grated parmesan cheese, plus more for sprinkling**
Salt and pepper, to taste
1/4 cup extra-virgin olive oil

Directions:
In a large pot of salted water, cook the kale until tender, 4 to 5 minutes. Drain and squeeze kale to remove the excess water.

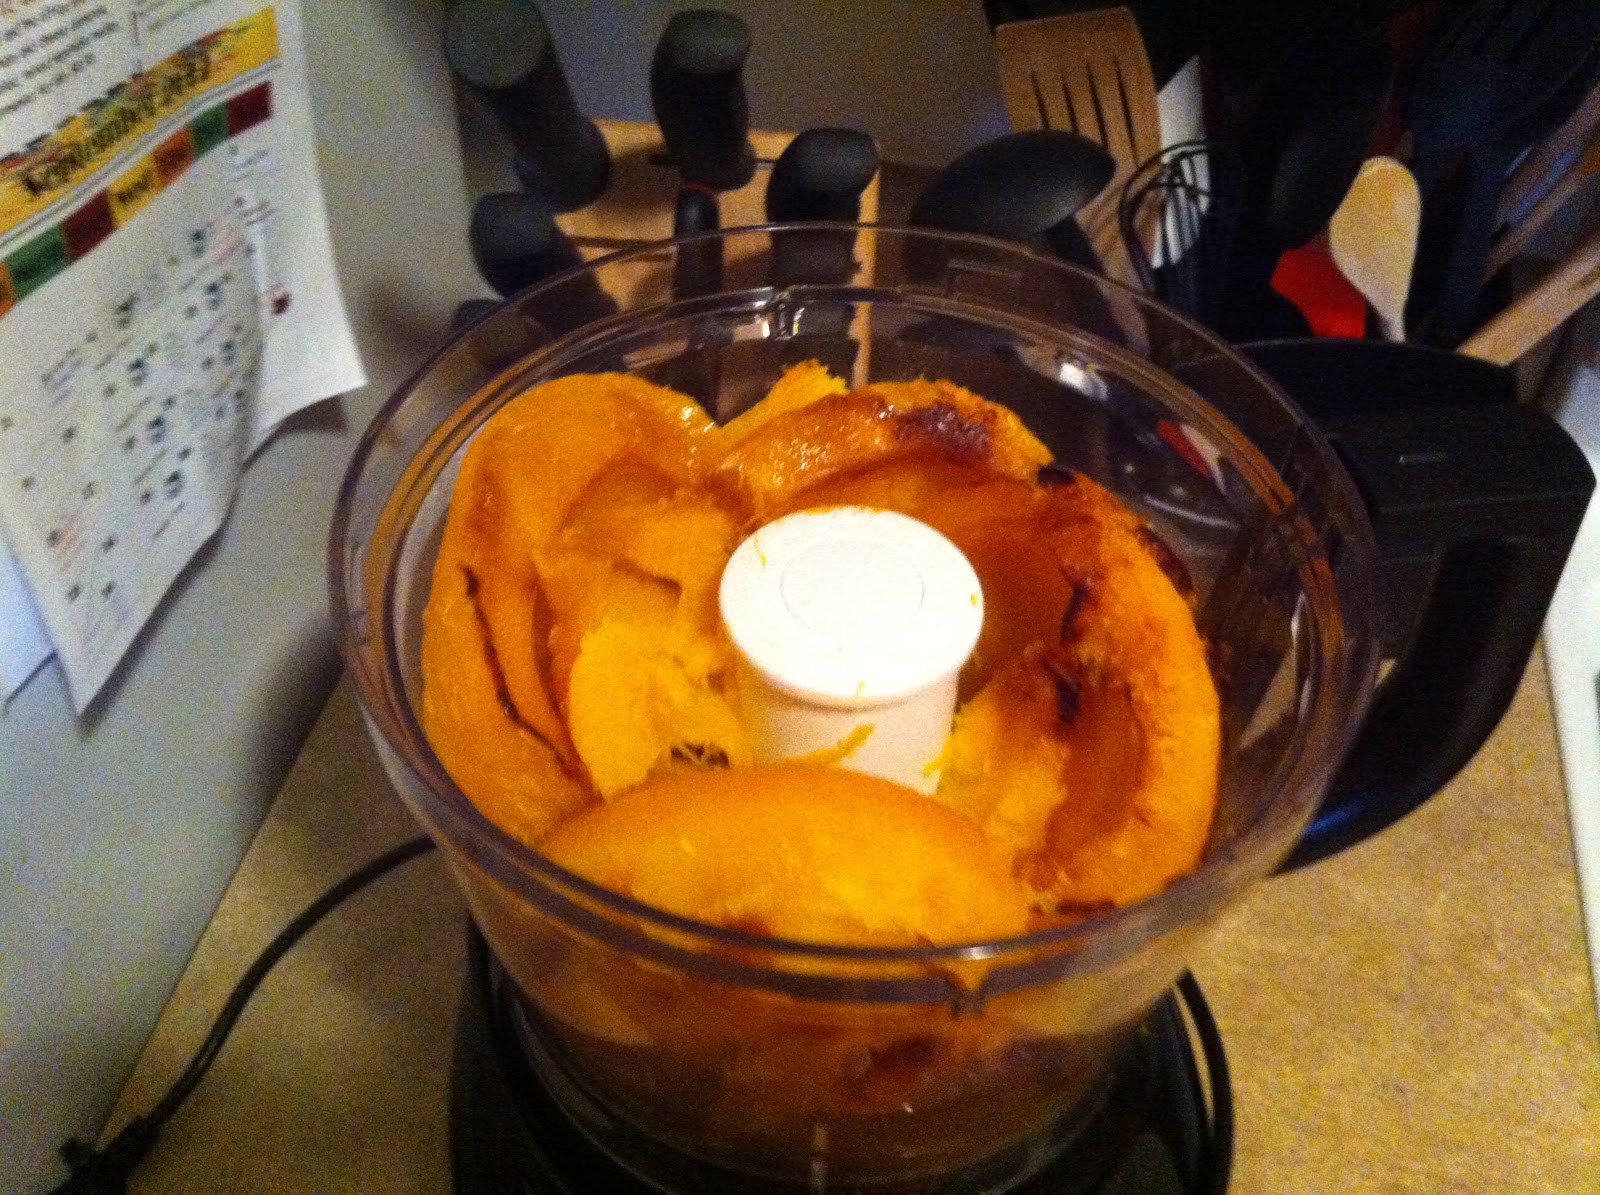
In a food processor, combine kale, walnuts, garlic and parmesan until almost smooth. Season with salt and pepper. With the machine running, add the olive oil.
Use pesto immediately or freeze for later.

**It is important here to use good quality parmesan cheese. Get the stuff from the refrigerated section that is strongly flavored.


Pesto Pasta with Kielbasa
Ingredients:
1/3 cup Kale and Walnut Pesto (see above)
½ lb pasta (any kind will work, I used rotini)
½ kielbasa sausage, cut into ¼ inch pieces
Parmesan cheese, for garnish

Directions:
Cook pasta according to package. Drain, reserving approximately ¼ cup cooking water.

While the pasta cooks, add the kielbasa to a skillet and cook over medium heat until browned, flipping the pieces, approximately 7-8 minutes.

Mix the pasta, kielbasa and pesto in a bowl. Add the reserved cooking water and toss to coat everything completely. Garnish with additional parmesan cheese.

Serves 2.


Pesto and Vegetable Calzones
Ingredients:
Individual size pizza crust (homemade, or 1/3 to ½ of refrigerated tube)
1/4 cup Kale and Walnut Pesto (see above)
1/3 cup sliced mushrooms
1 small tomato, sliced thinly
¼ mozzarella cheese, shredded
Cornmeal, for dusting

Directions:
Preheat oven to 500 F. Preheat a baking stone (or upside down baking sheet) in the oven as well.

Cook the mushrooms in a skillet over medium heat until soft, approximately 5 minutes.

Sprinkle a work surface with cornmeal and roll out the pizza crust. Spread the pesto over half of the crust and cover with mushroom, tomato and mozzarella cheese. Fold other half of crust over and seal.

Transfer to the heated baking stone and bake for 8-10 minutes.

Serves 1.


Tuesday, May 15, 2012

Chicken Pot Pie- Buffalo Style


When I was growing up, I was not a fan of chicken pot pie. I didn’t like the super dry crusts filled with blandly seasoned meat and vegetables. Plus the peas… I was not a fan of peas. Oh how the times change. I’ve come to like peas (although they are still not a go-to vegetable for me; I prefer them when mixed with other vegetables). As for the pot pie situation, they have really grown on me as well. However, the pie MUST be homemade; you know, with a homemade crust and everything. They are just SOOO much better than the ones you find in the frozen section of the grocery store. I’ve made a few different pot pies- normal chicken, bbq chicken, biscuit crusted, etc. By far my favorite has been this buffalo chicken pot pie. I simply LOVE anything buffalo flavored so I was on board as soon as I saw the idea on Rachael Ray’s website. I changed the recipe up a bit using a more traditional crust in place of the cornbread. Plus, I took inspiration from my favorite sandwich at Devine’s bar in Durham, NC (the Immaculate Reception--grilled chicken with buffalo sauce and American cheese) by adding American cheese into the mix. Certainly not necessary but I had it and I thought, why not? Turned out AMAZING!! If you don’t like bleu cheese, you could certainly replace it with more American or add something with a little more flavor like gouda or pepper jack. Hmmm... I may need to try that out next time.


Just FYI, I made this into 4 individual pies and froze the extra for another time. To be completely honest, they may even be better after allowing extra time to soak up all the juicy flava-flav in the freezer. Because I was freezing them, I didn’t put any crust on the bottom of the pie in case it would get soggy (and truthfully, this usually ends up being too much crust for me), but if you like a crusty pot pie, you’ll have to double the crust recipe. 

Enjoy!

Buffalo Chicken Pot Pie
Ingredients:
For crust:
1 1/2 cups all-purpose flour
2 dashes salt
1/2 tsp baking powder
1/4 cup vegetable shortening
1/2 stick butter, cut into 1″ pieces
1/4 cup ice water

For filling:
1 lb chicken, cut into small pieces
1/2 cup diced celery
1/2 cup diced carrots
1/4 cup diced onion
1/2 cup diced bell pepper
1/2 cup bleu cheese crumbles
1/2 cup American cheese, shredded or torn
1/2 cup Buffalo sauce
1 tbsp flour

Directions:
To make crust, combine flour, baking powder and salt in a bowl. Cut in butter and shortening using a pastry cutter or forks. Add ice water (you may need more than indicated above) and form into a ball with your hands. Cover with saran wrap and chill in fridge for at least 30 min.

Preheat oven to 425 F.

Cook chicken in a skillet until no longer pink. Remove chicken from heat and put into a large bowl. Add veggies to skillet and cook until tender, about 5 min. Add veggies to chicken. Add cheeses to chicken and veggies in bowl. Combine the buffalo sauce and flour in the skillet and mix until thickened. Add sauce to bowl and mix everything thoroughly. Spoon into pot pie pans (either 4 small pans or 1 large one).

Roll out dough and cut into appropriate sizes to fit over pie tin. Cover pie tin and cut a few slits in the dough. Bake for 25-30 min.

To freeze: Cover with foil and place in freezer. Either thaw during the day and bake 350 for 35-40 min, or from frozen bake 425 for 45-60 min.